Installing CCTV (Closed-Circuit Television) involves several steps to ensure proper setup and functionality. Below is a general guide for CCTV installation:
1. Planning and Preparation
- Assess Your Needs: Determine the areas you want to monitor (e.g., entrances, driveways, offices).
- Choose the Right CCTV System:
- Analog vs. IP Cameras: Analog cameras are cheaper but offer lower resolution. IP cameras provide higher resolution and advanced features.
- Wired vs. Wireless: Wired systems are more reliable, while wireless systems are easier to install.
- Number of Cameras: Decide how many cameras you need based on coverage areas.
- Check Local Laws: Ensure compliance with privacy laws and regulations regarding CCTV installation.
2. Gather Equipment
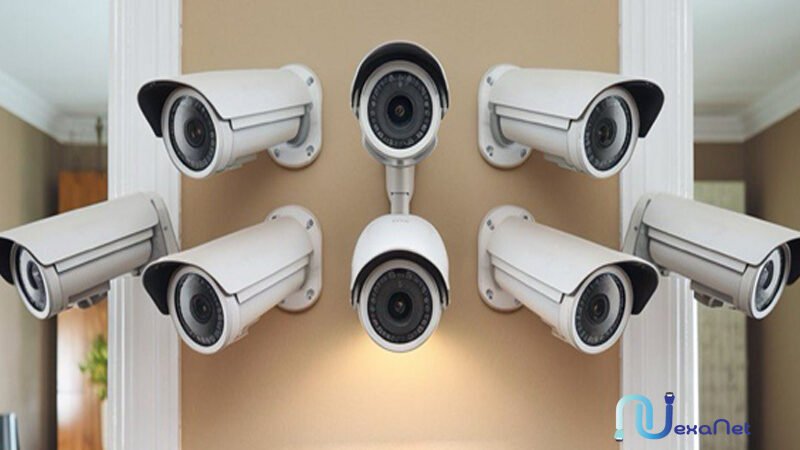
- CCTV cameras (indoor/outdoor, dome, bullet, or PTZ)
- DVR (Digital Video Recorder) or NVR (Network Video Recorder)
- Power supply and cables (e.g., coaxial cables for analog, Ethernet cables for IP cameras)
- Monitor for viewing footage
- Mounting brackets and screws
- Tools (drill, screwdriver, cable cutter, etc.)
3. Install the Cameras
- Choose Locations: Install cameras at strategic points (e.g., entrances, blind spots). Ensure they are out of reach to prevent tampering.
- Mount the Cameras:
- Use mounting brackets to secure the cameras.
- Drill holes and fix the cameras firmly.
- Adjust the angle for optimal coverage.
- Weatherproofing: For outdoor cameras, ensure they are weatherproof or housed in protective casings.
4. Run Cables
- Wired Systems:
- Run cables from the cameras to the DVR/NVR.
- Use cable clips or conduits to secure and hide the wires.
- Wireless Systems:
- Ensure cameras are within range of the Wi-Fi signal.
- Power the cameras using nearby outlets or PoE (Power over Ethernet).
5. Set Up the DVR/NVR
- Connect the DVR/NVR to the cameras using the appropriate cables.
- Connect the DVR/NVR to a monitor for live viewing.
- Power on the system and configure settings (e.g., recording mode, motion detection, time/date).
6. Connect to the Internet (Optional)
- For remote viewing, connect the DVR/NVR to your router using an Ethernet cable.
- Install the manufacturer’s app on your smartphone or computer.
- Follow the setup instructions to access the cameras remotely.
7. Test the System
- Check each camera’s feed on the monitor.
- Adjust angles and focus if necessary.
- Test recording, playback, and remote access features.
8. Maintenance
- Regularly clean camera lenses.
- Check cables and connections for wear and tear.
- Update firmware and software as needed.
Tips for Successful Installation
- Use high-quality equipment for better performance and durability.
- Ensure proper lighting for clear footage, especially at night.
- Label cables for easy identification during maintenance.
- Consider professional installation if you’re unsure about the process.
By following these steps, you can set up a reliable CCTV system to enhance security and monitor your property effectively.


Leave a Reply